---
title: 'Installing GOsa web interface on top of OpenLDAP'
url: 'http://x24u.com/ldap/installing-gosa-web-interface-on-top-of-openldap'
markdown: 'http://x24u.com/ldap/installing-gosa-web-interface-on-top-of-openldap.md'
date: '2026-09-22'
description: 'Sometimes you need to manage your user directory in a comfortable way just not to create/dig around with complex ldif styled files. To make your life a bit easier for such cases this short tutorial will guide you through the installation of GOsa web interface on top of our ldap service. All steps w…'
taxonomy:
category:
- installation
tag:
- gosa
- management
- web
- ldap
---
# Installing GOsa web interface on top of OpenLDAP
### Sometimes
you need to manage your user directory in a comfortable way just not to create/dig around with complex ldif styled files. To make your life a bit easier for such cases this short tutorial will guide you through the installation of GOsa web interface [on top of our ldap service](http://x24u.com/ldap/install-openldap).
All steps will be done on a plain **debian buster** installation.
#### Update the system
Just ssh into you machine and update your cache
```
$ sudo apt update
```
[](http://x24u.com/user/pages/04.home/ldap/02.installing-gosa-web-interface-on-top-of-openldap/update-system.png)
```
$ sudo apt install gosa gosa-schema gosa-plugin-ssh gosa-plugin-ssh-schema gosa-plugin-sudo gosa-plugin-sudo-schema gosa-plugin-systems gosa-plugin-rolemanagement gosa-plugin-ldapmanager gosa-plugin-mail
```
With listed above packages, Apache webserver and PHP packages are installed automatically as they are required to run GOsa.
#### Check the services status
Ensure that openLDAP and Apache services are up and running
```
ps ax | grep "[a]pache\|[s]lapd"
```
[](http://x24u.com/user/pages/04.home/ldap/02.installing-gosa-web-interface-on-top-of-openldap/check-services.png)
#### Configure apache server
Next, copy */etc/gosa/gosa-apache.conf* into /etc/apache2/sites-available/ as gosa.conf
```
sudo cp /etc/gosa/gosa-apache.conf /etc/apache2/sites-available/gosa.conf
```
Let's adjust gosa.conf so that it looks like that:
```xml
DocumentRoot /usr/share/gosa/html
php_admin_flag engine on
php_admin_flag register_globals off
php_admin_flag allow_call_time_pass_reference off
php_admin_flag expose_php off
php_admin_flag zend.ze1_compatibility_mode off
php_admin_flag register_long_arrays off
php_admin_flag magic_quotes_gpc off
php_admin_value upload_tmp_dir /var/spool/gosa/
php_admin_value session.cookie_lifetime 0
include /etc/gosa/gosa.secrets
```
After your editing you have two options:
1. Make a link under /etc/apache/sites-enabled/gosa.conf pointing to /etc/apache/sites-available/gosa.conf ```
sudo ln -s /etc/apache2/sites-available/gosa.conf /etc/apache2/sites-enabled/gosa.conf
```
and restart apache `sudo systemctl restart apache2`or
2. use built-in mechanism of apache: ```
$ sudo a2ensite gosa
$ sudo systemctl restart apache2
```
#### Configure gosa
So, you are almost ready to go, just navigate to http://*``* in your browser and ensure that you see the setup welcome page of GOsa.
[](http://x24u.com/user/pages/04.home/ldap/02.installing-gosa-web-interface-on-top-of-openldap/gosa-welcome-page.png)
There, on the welcome page you will also see what to do next. Just follow the instructions on the screen.
Steps are:
- writing a string to a file
- stopping apache web service
- replacing parameter in the systemd file, to disable private temporary directory for apache service
- reloading the systemd daemon, to activate the changes
- starting apache service again
```
echo -n l0ngstr1ngxxxxxxxxxxxx > /tmp/gosa.auth
sudo service apache2 stop
sudo sed -i 's/Tmp=true/Tmp=false/' /lib/systemd/system/apache2.service
sudo systemctl daemon-reload
sudo service apache2 start
```
After this actions click **Next**
revert the change made above, just to be on the secure side
```
sudo service apache2 stop
sudo sed -i 's/Tmp=false/Tmp=true/' /lib/systemd/system/apache2.service
sudo systemctl daemon-reload
sudo service apache2 start
```
On the second step system ensures you have everything installed.
[](http://x24u.com/user/pages/04.home/ldap/02.installing-gosa-web-interface-on-top-of-openldap/step2gosa.png)
Just push `Next` button.
On the third step you need to accept the license otherwise you would not be able to finish the installation.
[](http://x24u.com/user/pages/04.home/ldap/02.installing-gosa-web-interface-on-top-of-openldap/step3gosa.png)
Fourth step. Here it comes to configuration of GOsa web interface, how it can communicate to the OpenLDAP server. As we [previously installed](http://x24u.com/ldap/install-openldap) ldap service on the same server as gosa, we need to specify the same admin credentials, which we used while configuring ldap server. Click on the button "Check again" and ensure, that credentials are correct. You will see the green message in the bottom. Click `Next`
[](http://x24u.com/user/pages/04.home/ldap/02.installing-gosa-web-interface-on-top-of-openldap/step4gosa.png)
On the next step you will get the message about missing schema, which we need to install.
[](http://x24u.com/user/pages/04.home/ldap/02.installing-gosa-web-interface-on-top-of-openldap/step5gosa-missing-schemas.png)
Install them by running:
```
for i in /etc/ldap/schema/gosa/*.ldif; do sudo ldapadd -Y EXTERNAL -H ldapi:/// -f $i; done
```
And recheck the configuration again by clicking on "Check again". You will get the success message.
[](http://x24u.com/user/pages/04.home/ldap/02.installing-gosa-web-interface-on-top-of-openldap/gosa5.png)
On the next step you need to migrate the ldap database and create gosa admin.

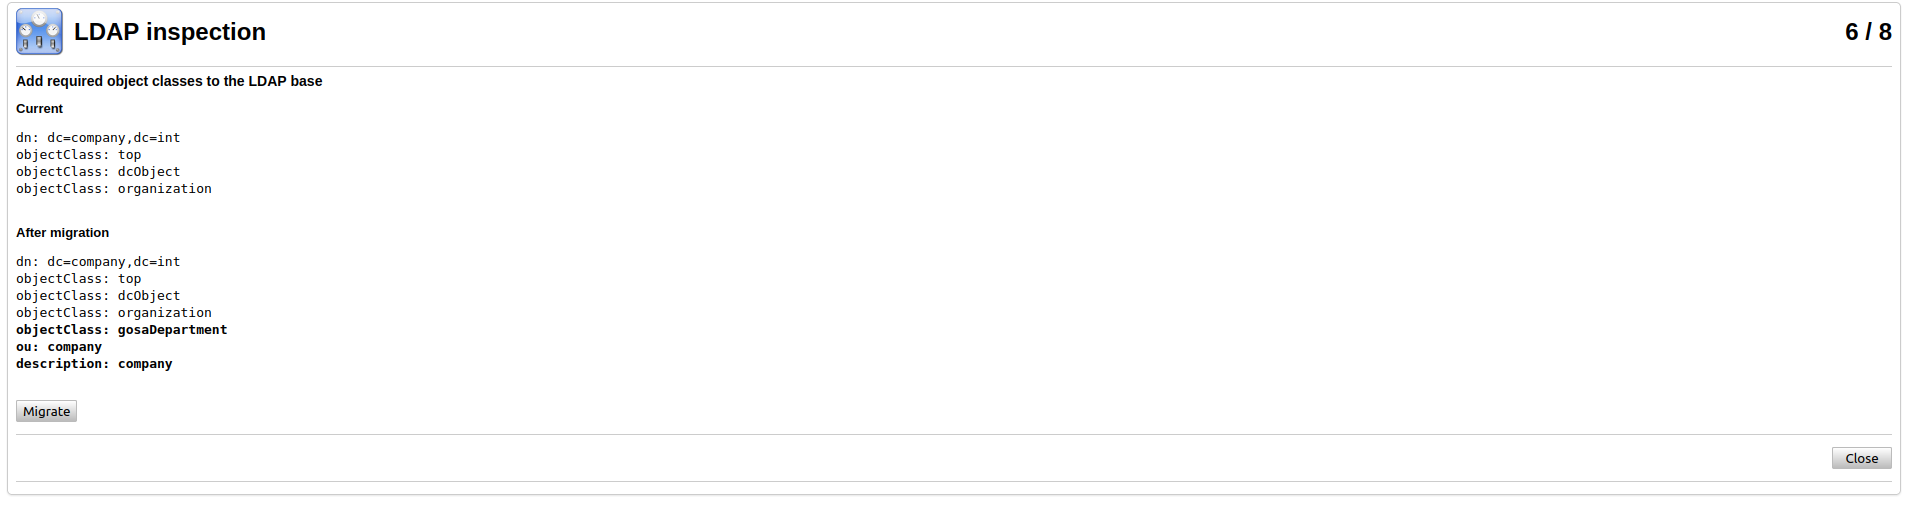
[](http://x24u.com/user/pages/04.home/ldap/02.installing-gosa-web-interface-on-top-of-openldap/gosa6-create-gosaadmin.png)

[](http://x24u.com/user/pages/04.home/ldap/02.installing-gosa-web-interface-on-top-of-openldap/gosa6-admin-created.png)
After you created admin account the 7th step could be skipped, if you want.
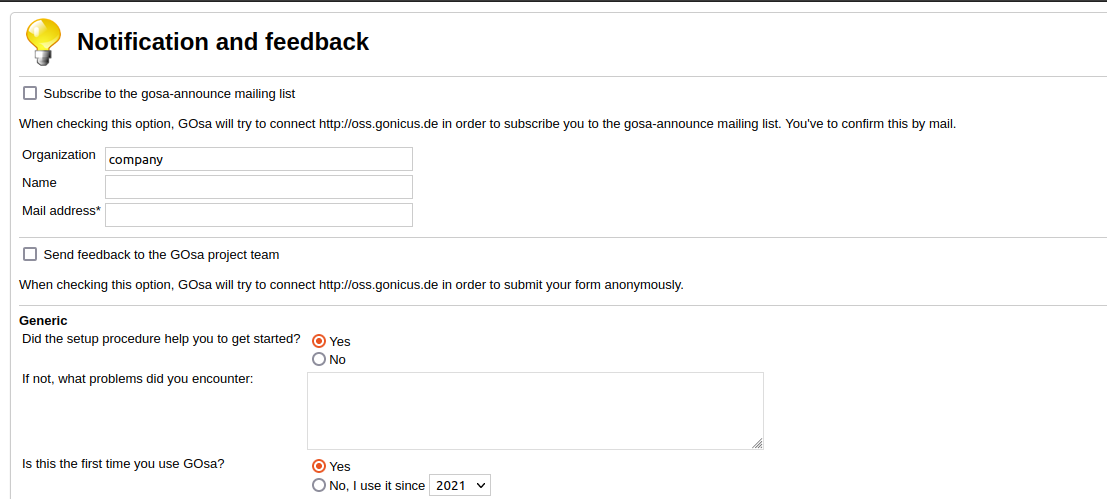
Download the config file and put it under /etc/gosa/
[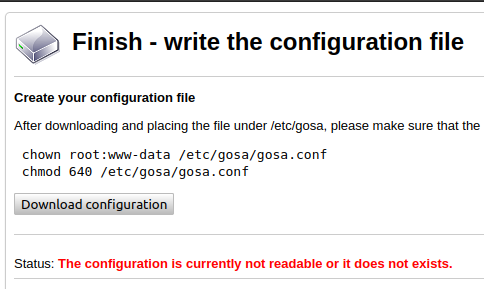](http://x24u.com/user/pages/04.home/ldap/02.installing-gosa-web-interface-on-top-of-openldap/gosa8-configfile-download.png)
Change the owner of that to root:www-data so that web server can read it and change the permissions to 0640
```
sudo chown :www-data /etc/gosa/gosa.conf
sudo chmod 0640 /etc/gosa/gosa.conf
```
Return to browser and click `Check again`, then `Next`
Navigate to http://`__` and login with your gosa admin account and the password specified earlier.
[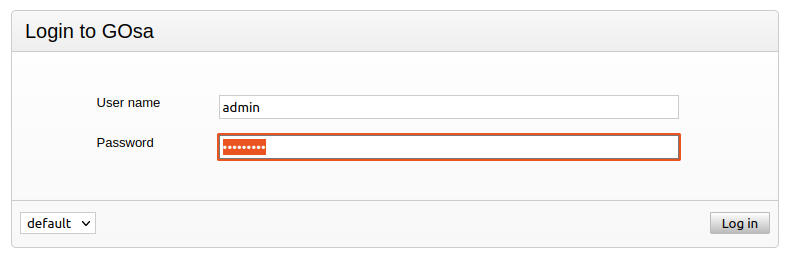](http://x24u.com/user/pages/04.home/ldap/02.installing-gosa-web-interface-on-top-of-openldap/gosa-login.png)
[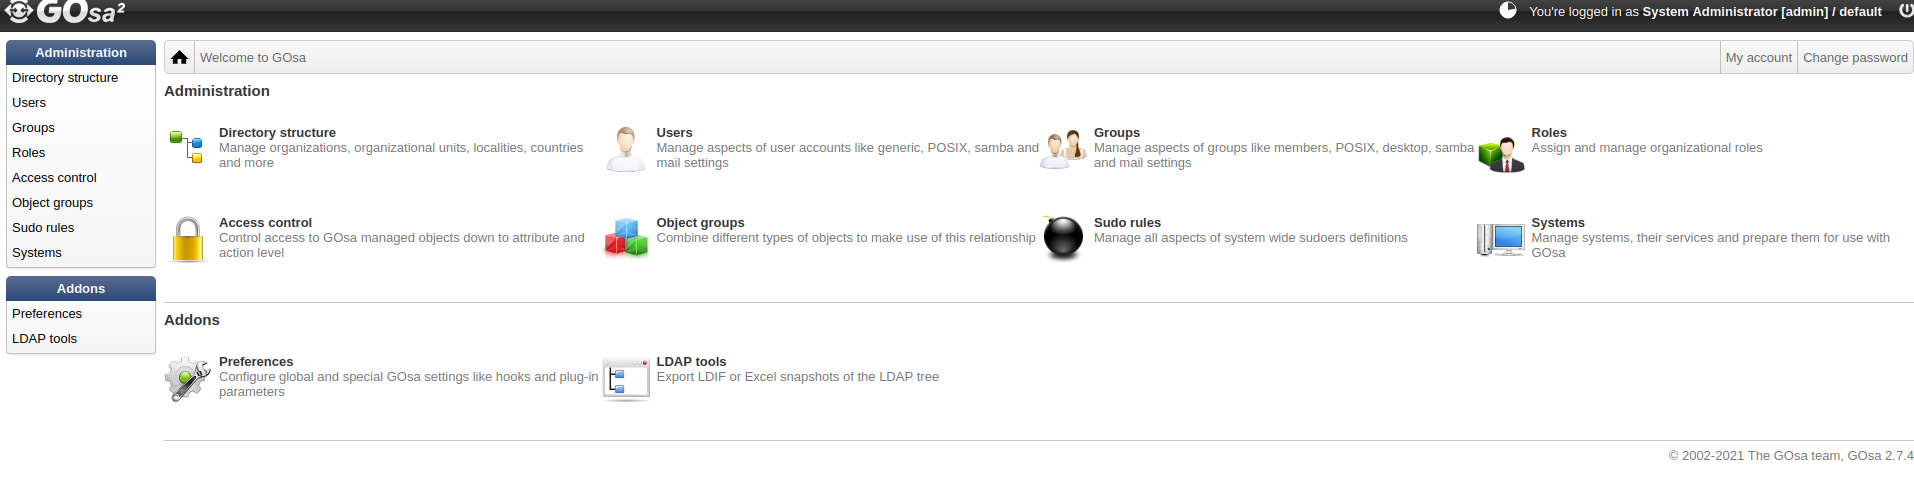](http://x24u.com/user/pages/04.home/ldap/02.installing-gosa-web-interface-on-top-of-openldap/gosa-loggedin.png)
That's it, gosa is configured and can be used to manage your user, groups and systems.
[Next Post ](http://x24u.com/ldap/install-openldap)
---
## Navigation
- Parent: [ldap](http://x24u.com/ldap.md)
- Previous: [Install OpenLDAP](http://x24u.com/ldap/install-openldap.md)